Learn more


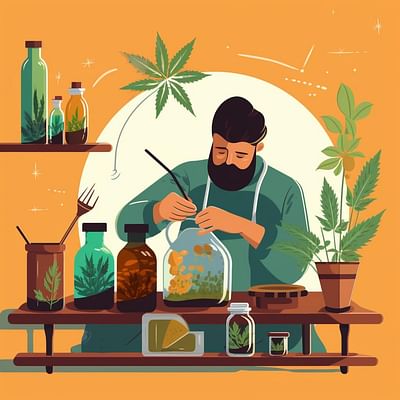
Harvesting and curing your cannabis is a crucial process that can greatly impact the quality and potency of your final product. In this step-by-step guide, we will walk you through the essential steps to ensure a successful harvest and curing process.
Step 1: Identify the Right Time to Harvest
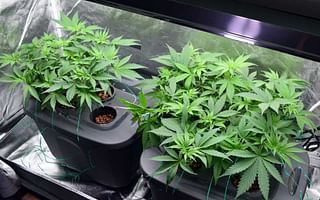
The first step in harvesting your cannabis is determining the optimal time to do so. Look for signs of maturity in your buds, such as the darkening of the pistils and the cloudiness of the trichomes. These indicators will help you determine when your plants are ready for harvest.
Step 2: Cutting and Trimming
Once your plants are ready, it's time to cut the branches and trim away excess leaves. This step is crucial as it helps improve the drying process and enhances the overall quality of your final product. By removing unnecessary foliage, you allow for better airflow and prevent the growth of mold and mildew during the drying process.
Step 3: Drying Your Buds
After trimming, it's time to dry your buds. Hang them upside down in a dark, well-ventilated room with a temperature of around 70°F (21°C) and 50% humidity. This process typically takes 7-14 days. Proper drying is essential to preserve the flavor, aroma, and potency of your cannabis.
Step 4: Curing Your Cannabis
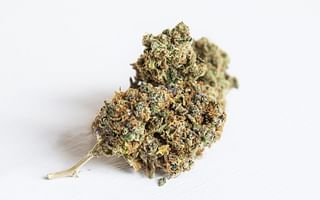
Once your buds are dry, it's time to cure them. Place the dried buds in airtight jars and store them in a cool, dark place. During the first week, open the jars once a day to let the buds breathe. In the following weeks, open the jars once a week. This curing process can take 2-4 weeks or even longer for optimal results. Curing allows the flavors and aromas to develop fully, resulting in a smoother and more enjoyable smoking experience.
Harvesting and curing your cannabis is a labor of love that requires patience and attention to detail. By following these steps, you can ensure that your cannabis is of the highest quality, with enhanced flavors, aromas, and potency.
At Weed Almighty, we are passionate about providing you with the knowledge and tools to become a cannabis connoisseur. Whether you're a beginner or an experienced grower, our comprehensive guides cover everything you need to know about cannabis laws, strains, products, cooking, and more.
Unlock the full potential of cannabis with Weed Almighty: Your ultimate guide to the world of cannabis. Let us empower you to explore the vast and exciting world of this remarkable plant. Happy harvesting and curing!
All Rights Reserved © 2025